This article assumes you have basic knowledge of Vue js and Nuxt.
As much as SPA frameworks allow us quickly prototype web applications, they, unfortunately, come with their bottlenecks, one of which is SEO management. As the name implies, Single-Page Applications are single-paged. This means only a single page (entry point) is rendered while data (template/JSON) is updated on demand using Javascript. However, when building applications like e-commerce/blog sites with dynamic metadata information, SPAs don’t quite get the job done neatly.
In this article, I’ll show you how to set up an SEO-friendly application in Nuxt, and at the end, we will have built this mini e-commerce app in Nuxt:
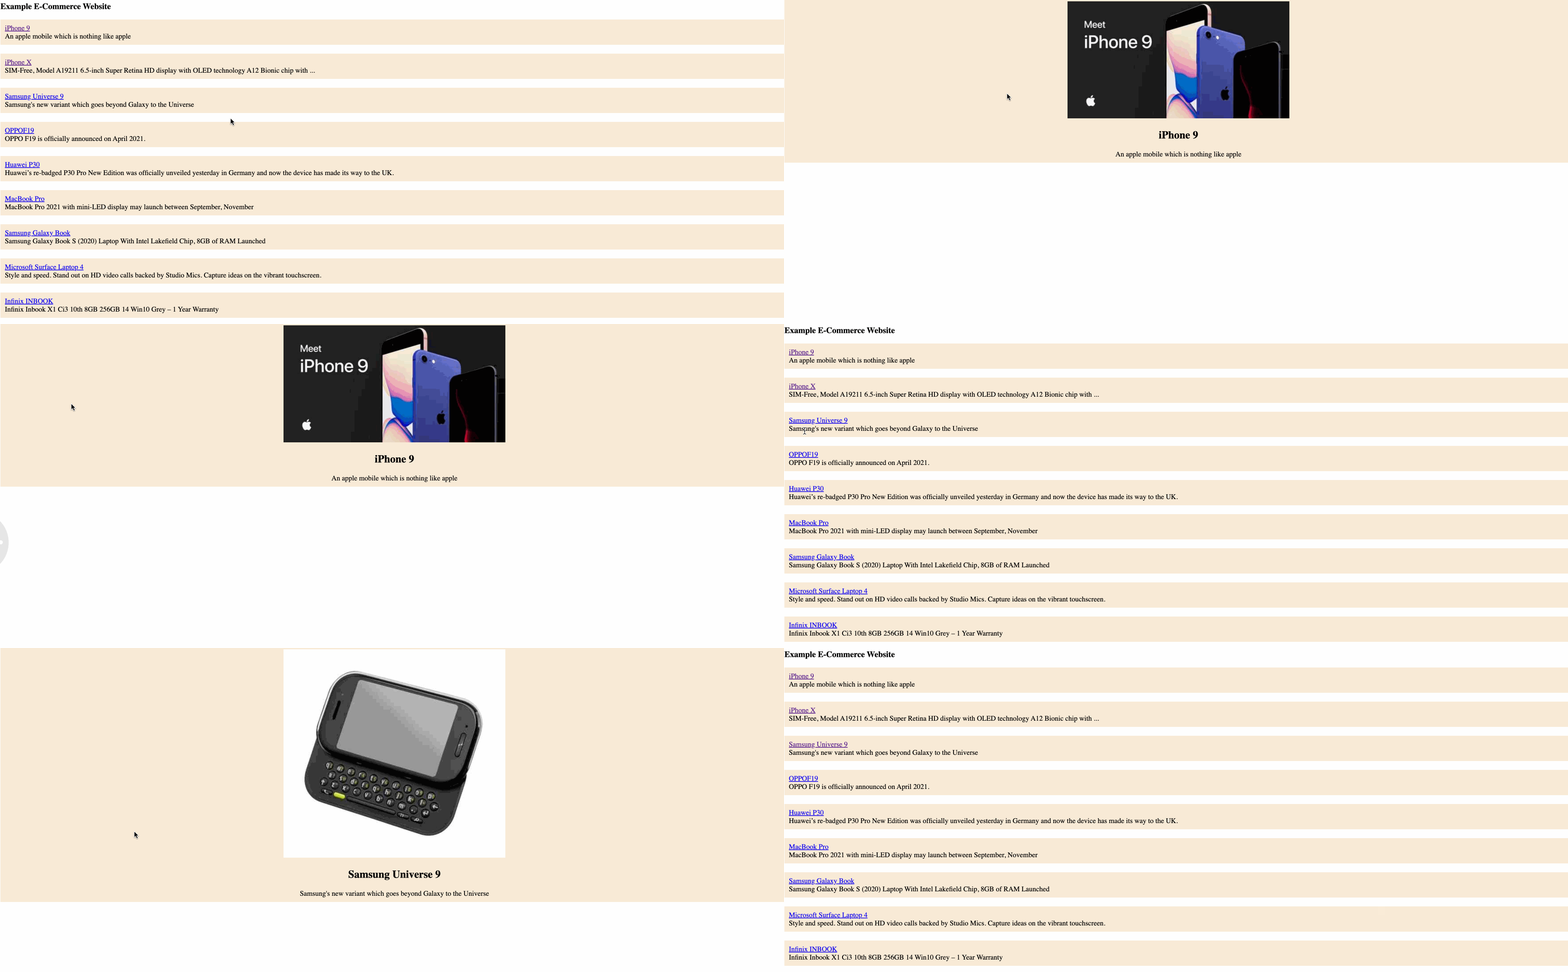
Each product link is appended with the product id (/details/), and when shared on social media, we get the product’s image, title, and description. Just like this example below:
Requirements
Nodejs LTS — If you have an existing node version, you can use NVM to manage your versions.
Setup
To get started, be sure you have the latest Nodejs LTS version running (18.14.2 at the time of writing), which also ships with NPM version 9.5.0.
We’ll install and set up our project in Nuxt 3. First, install npx — it’s like npm but on steroids.
npm install --g npx
Once installation is complete, we can create a new Nuxt 3 project using Nuxi (Nuxt’s newest CLI tool).
npx nuxi init <project-name>
Feel free to name your project as you like. I’ll name this ecommerce-demo.
npx nuxi init ecommerce-demo
Now you can open your Nuxt project in your editor and install the npm packages.
cd ecommerce-demo && npm install && code .
We can start the dev server and preview the default app in the browser.
npm run dev
Right off the installation, we get just the basic files. We’ll create a pages folder to house our pages. Next, we move the entry app.vue file from the root folder into the pages folder and rename this file to index.vue. You don’t have to configure anything else, as Nuxt knows where to look to find the routes.
TIP*: Restart the server if Nuxt doesn’t automatically pick up your new entry file.*
We’ll also need a second page to show the product detail when clicked. We can name this page [id].vue . This is how we create dynamic routes in Nuxt 3. We’ll also move this new file into a details folder.
Our new directory structure should look something like this now:
📂 node_modules
📂 pages
   |__ index.vue
   |
   |__ 📂 details
        |___[id].vue
List Page
Within the index.vue file, we’ll list all products from an open-source dummy data API. We’ll also add a link to the details page for each product. First, the script part:
<script setup lang="ts">
const data = await fetch('https://dummyjson.com/products')
                     .then(res => res.json())
                     .then(data => data.products)

</script>
We can take advantage of the setup script since Nuxt uses Vue 3. We’ll fetch all products and assign them to the data constant. Then, we loop through the data and show the product title and description within our template.
<template>
  <div>
    <div class="productContainer">
      <div class="product" v-for="(product, i) in data" :key="i">
        <RouterLink :to="`/details/${product.id}`">
          <div>
            {{  product.title  }}
          </div>
        </RouterLink>
        <div>{{ product.description }}</div>
      </div>
    </div>
  </div>
</template>
Each product has a router link to navigate to the details page while we pass the product ID as a parameter.
Details Page
Next, for the details page, details/[id].vue, we’ll get the id from the route’s param and query our dummy API for the single product details.
<script setup lang="ts">

const route = useRoute();
const itemId = route.params.id

const productDetails = await fetch(`https://dummyjson.com/products/${itemId}`).then(res => res.json()).then(data => data);
...

</script>
We can show some of the product’s details in the template part.
<template>
  <div class="details">
    <img :src="productDetails.thumbnail" :alt="productDetails.title">
    <h2>
      {{ productDetails.title }}
    </h2>
    <div>
      {{ productDetails.description }}
    </div>
  </div>
</template>
We now have our list and details page. Finally, we want to show dynamic SEO data on our details page. So every time a single product link is shared, we get all the metadata for that product within the link preview. For this, we’ll use useServerSeoMeta. This is a composable built on Vueuse. It exists in the global setup scope, so you don’t need to import or install anything as long as you’re running Nuxt/Vue 3.
Here’s how we’d use it:
<script setup lang="ts">
  const route = useRoute();
  const itemId = route.params.id

  const productDetails = await fetch(`https://dummyjson.com/products/${itemId}`).then(res => res.json()).then(data => data);
  const title = `${productDetails.title} | ${productDetails.description}`;

  useServerSeoMeta({
    ogTitle: () => title,
    title: () => title,
    description: () => productDetails.description,
    ogDescription: () => productDetails.description,
    ogImage: () => productDetails.thumbnail,
    ogImageUrl: () => productDetails.thumbnail,
    twitterCard: () => 'summary_large_image',
    twitterTitle: () => title,
    twitterDescription: () => productDetails.description,
    twitterImage: () => productDetails.thumbnail
  })
</script>
With this, we now have the important metadata items for social shares. Finally, the most important part is building & deployment.
Build & Deploy
Unfortunately, we can not deploy our Nuxt app like traditional SPAs. We have two options:
Deploying as a Statically Generated Site, or
Deploying as a Server Side Rendered App.
Which should you choose? I recommend deploying it as an SSR application if you’re building something like an e-commerce site. However, you should go with SSG builds if you’re building a blog. This is because blogs have a definite amount of data compared to E-commerce sites.
First, let’s build and deploy as an SSG. Run yarn generate and wait while Nuxt crawls through each dynamic route and builds them into individual static pages.
yarn generate
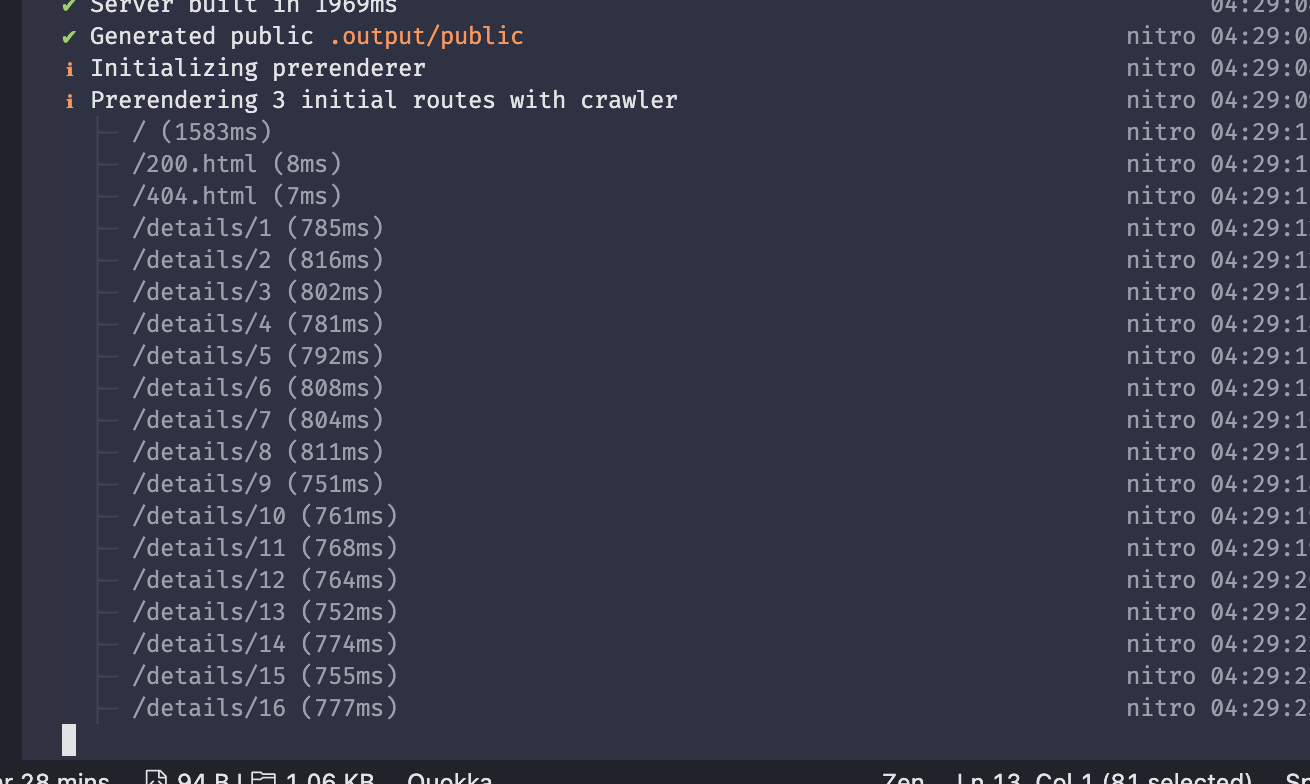
Once that’s done, you can publish or deploy the dist folder to any static host service like github pages, Netlify, or Surge (recommended).
And for our SSR deployment, you would need to run yarn build and wait for Nuxt to build our client and server for production.
yarn build
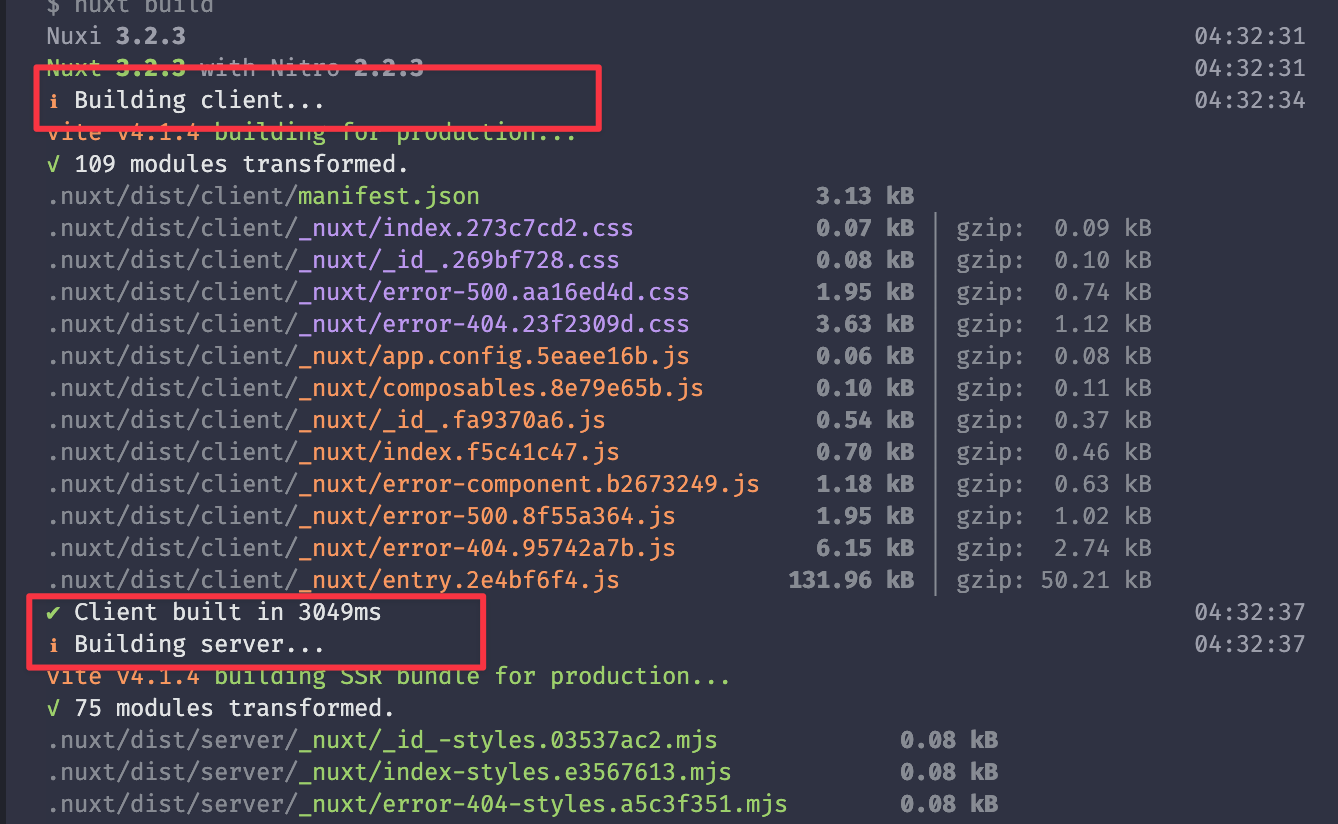
Once complete, you can set up a github deployment to services like Heroku or Render. Whatever deployment service you choose, ensure it has a node server provision. Here’s a list of platforms that support Nuxt 3:

Testing
You don’t need to deploy your application before testing for correct meta information, look, and feel. You can use platforms like https://metatags.io/ to check. Of course, metatags.io cannot read your local server. So you only need to channel your local server with Ngrok and use the link Ngrok provides.
ngrok http <your-local-port>
Conclusion
Hopefully, this tutorial was helpful. However, the journey to building an SEO-friendly web application continues beyond meta descriptions. Some other things that are worth considering:
XML Sitemaps — Crawlers will always crawl; you need to feed these crawlers for better search engine performance. So be sure to generate sitemaps for your applications.
Accessibility — Be sure your applications are very accessible to crawlers and screen readers. Images have readable alt descriptions, and non-interactive elements also have proper alternative attributes.
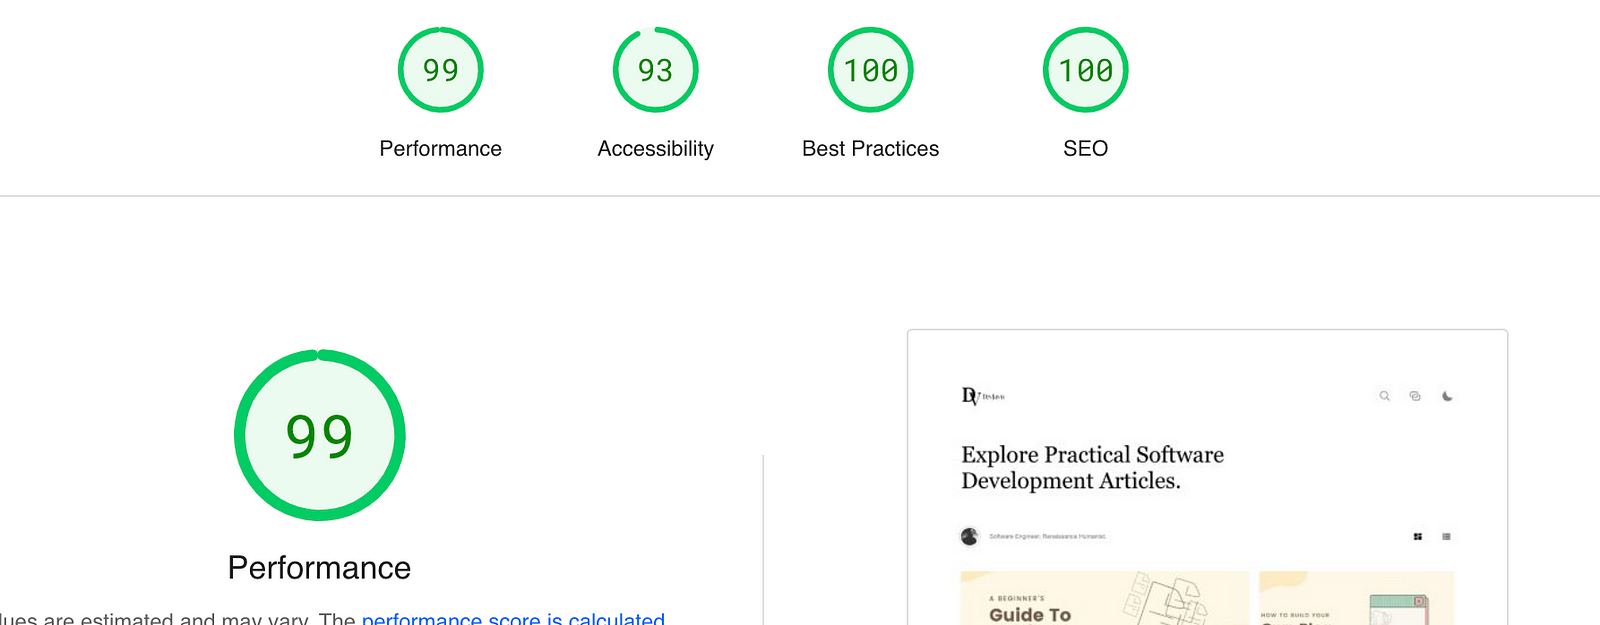
Run Periodic SEO Audits — If your application deals with new content every other week, run periodic SEO audits as often as necessary and keep your applications in the greens.
That said, have fun creating.
For your use, here’s a link to the github project for this example.
Cheers ☕️
